A kitchen or garage remodel can completely transform a space, but it also comes with significant structural responsibilities. One of the most critical tasks is mounting wall cabinets.
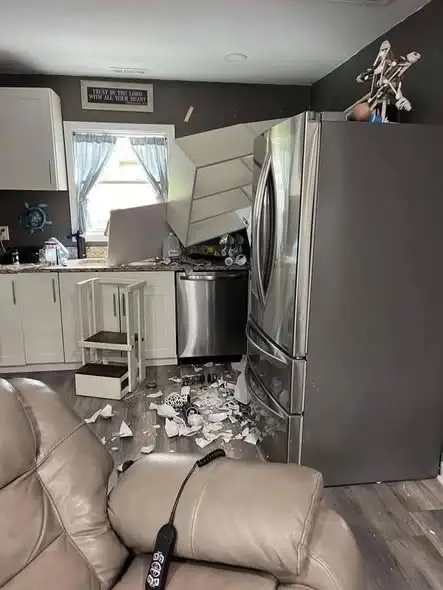
When fully loaded with dishes, glassware, or heavy garage tools, a single wall cabinet can weigh well over 100 pounds. A falling cabinet is not just a costly disaster that destroys your belongings and ruins your countertops—it is a severe safety hazard for anyone standing nearby.
In this guide, we will break down the mechanics of safely securing heavy loads to drywall, why traditional methods fall short, and how utilizing modern Deep Scan technology guarantees a secure installation.
The Dangerous Myth of the "Knock Test"
For decades, DIY enthusiasts have relied on the "knock-and-listen" method. The theory goes that tapping a knuckle against the drywall will yield a hollow sound where there is empty space, and a solid "thud" where a wooden stud lies.
Why is this a terrible idea for heavy cabinets?
- Subjective and Inaccurate: The acoustic change is often subtle, especially on thicker drywall or textured walls.
- Missing the Center: Even if you find the general location of the stud, the knock test cannot tell you where the dead center is. A standard wood stud is only 1.5 inches wide. If your mounting screw hits the very edge of the wood, it can splinter the stud and severely compromise the holding power, leading to eventual failure.
- Hidden Hazards: Knocking won't warn you if there is a live AC wire or a PVC plumbing pipe running directly alongside that stud.
Important Note on Drywall Anchors: Never use standard drywall anchors or toggle bolts as the primary support for heavy, load-bearing cabinetry. The sheer weight will eventually pull the anchor straight through the gypsum board. You must anchor into the structural studs.
The Solution: Precision Center-Finding and Deep Scanning
To ensure your cabinets stay exactly where you put them for decades, every structural screw must bite deeply into the center of a stud. This is where professional-grade electronic measuring tools become indispensable.
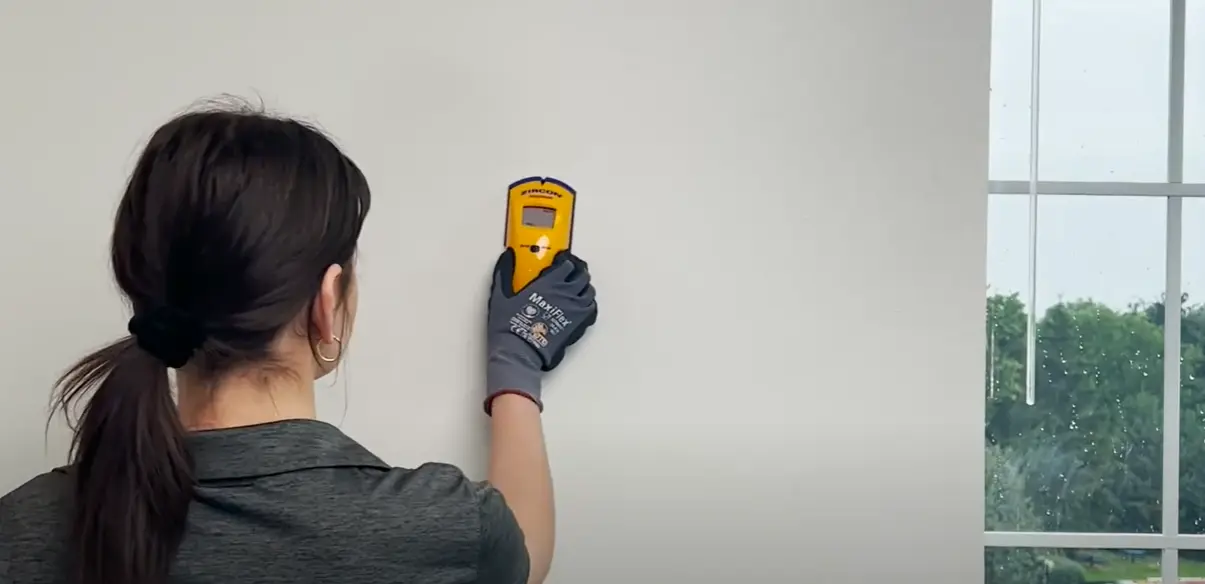
 Caption: Our advanced stud finders pinpoint the exact center, ensuring maximum holding power for your cabinet screws.
At eOUTIL, our advanced Stud Finders are engineered specifically to eliminate the guesswork from heavy-duty installations. Here is how technology solves the pain points of cabinet mounting:
1. Target the Dead Center
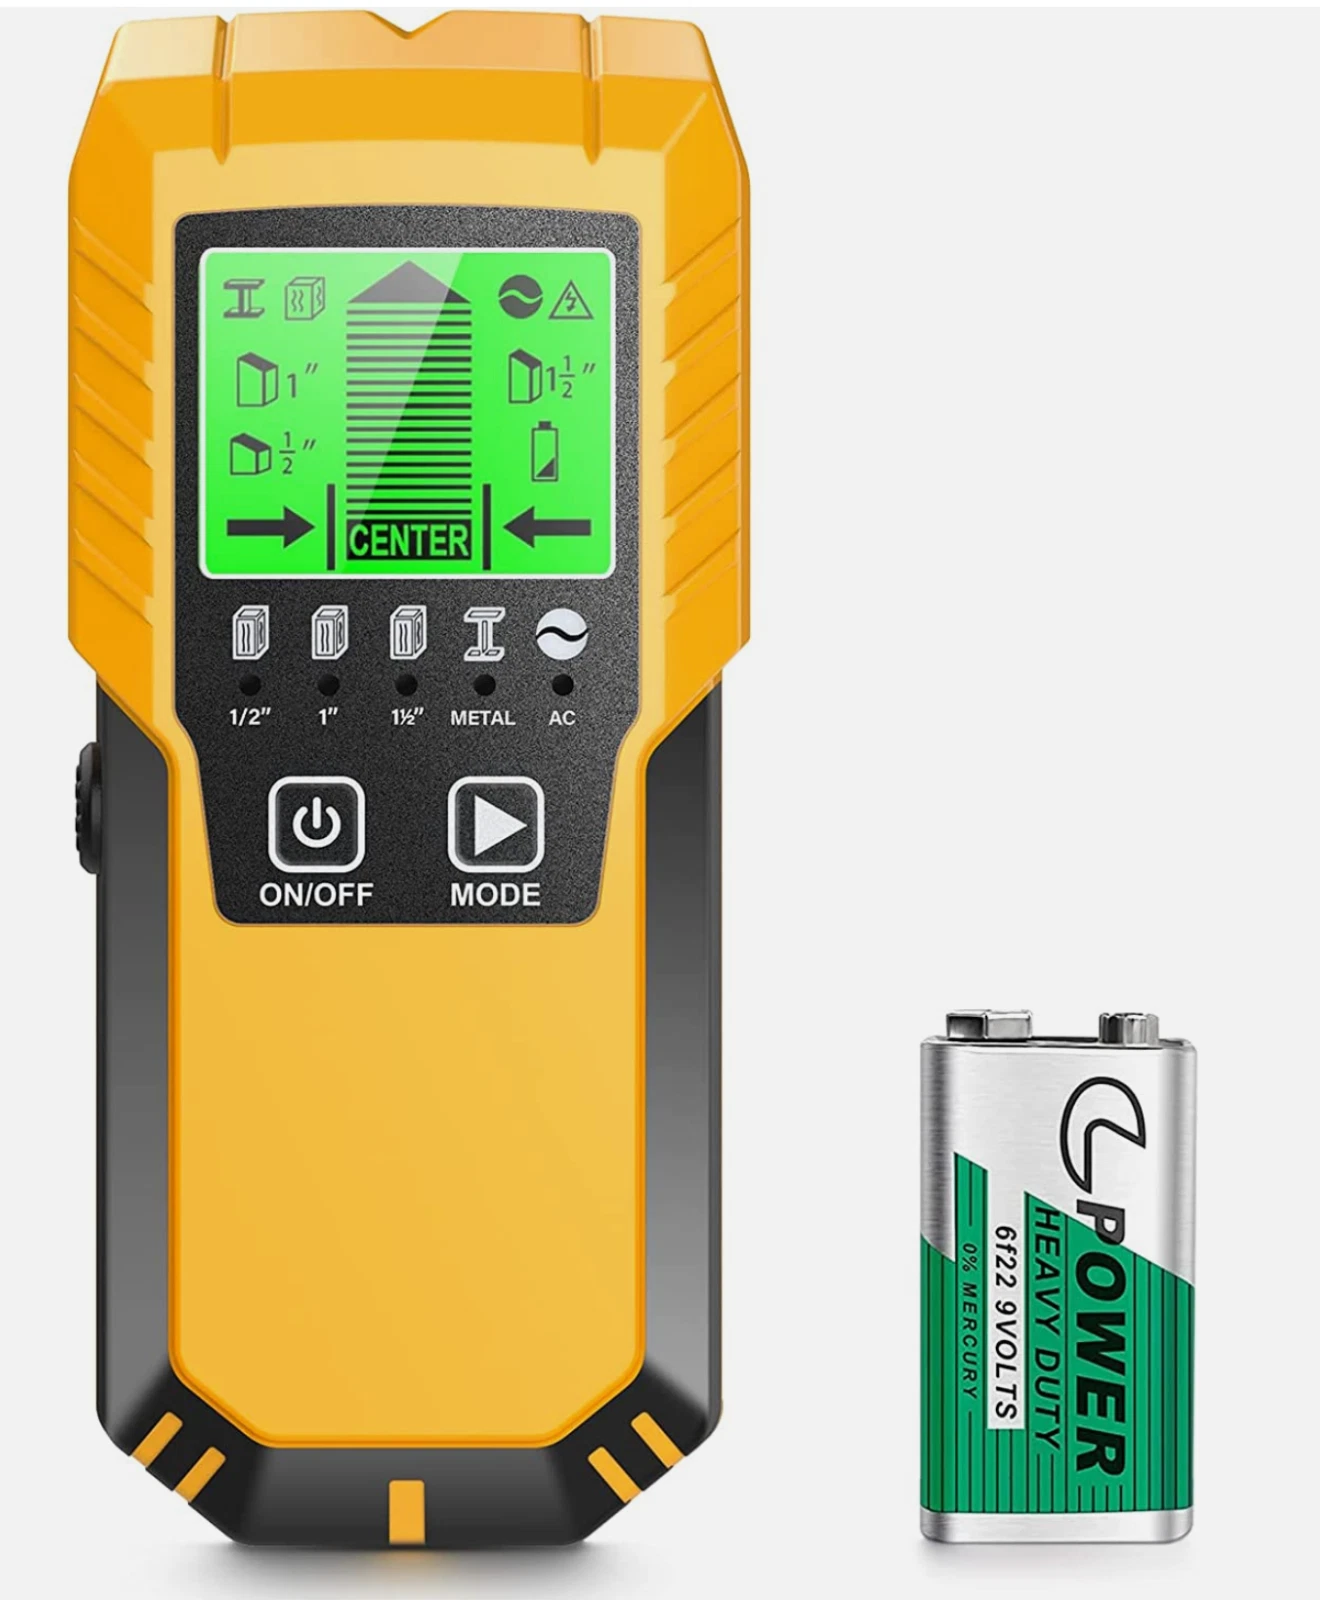
Unlike basic magnetic edge-finders, our advanced wall scanners measure changes in the wall's dielectric constant to map the entire width of the stud. The LCD screen explicitly indicates the center point, ensuring your heavy-duty cabinet screws get maximum grip without splintering the wood.
2. Deep Scan Mode for Complex Walls
Modern homes often feature structural complexities, such as double-layered drywall for fireproofing or sound dampening, or thicker plaster. Our Deep Scan feature penetrates up to 1.5 inches (38mm) into the wall, ensuring you can locate the solid framework no matter what lies on the surface.
3. AC Wire Warning
Safety isn't just about preventing falling objects; it's about avoiding electrical shocks. Our scanners feature an always-on Live AC Wire Warning that alerts you to unshielded electrical currents before your drill bit ever touches the wall.
Step-by-Step: How to Mount Your Cabinets Safely
Ready to install? Follow these professional steps to ensure a flawless and safe mount.
Step 1: Map the Wall Layout
Before lifting any cabinets, use your eOUTIL wall scanner to map the entire installation area. Slide the device horizontally across the wall.
Step 2: Mark the Centers
When the scanner indicates the stud, mark the exact center with a pencil. Continue scanning to find the next stud—they are typically spaced 16 or 24 inches apart on center. Use a Digital Level to draw a perfectly straight vertical line down from each mark.
Step 3: Install a Ledger Board
A ledger board is a temporary piece of straight wood screwed horizontally into the wall studs just below where the bottom of the cabinets will sit. This board bears the weight of the cabinets while you level and screw them into place, saving your back and ensuring perfect alignment.
Step 4: Pre-Drill and Mount
Lift the cabinet onto the ledger board. Drill pilot holes through the cabinet's mounting rail directly into the vertical lines you marked earlier. Drive heavy-duty cabinet screws (usually 2.5 to 3 inches long) through the cabinet and deep into the center of the studs.
Partner with a Trusted Tool Manufacturer
Whether you are a professional contractor demanding reliable equipment, or a retailer looking to stock high-quality measuring tools for your customers, accuracy is non-negotiable.
eOUTIL is a premier manufacturer of electronic measuring tools, dedicated to turning innovative concepts into best-selling products.
- Wholesale & Retail: Stock up on our highly-rated Pro Series and DIY Home Series stud finders.
- OEM/ODM Solutions: Looking to build your own brand? We offer comprehensive custom manufacturing from our dual production bases in China and Vietnam (Tariff-Free for US markets).
Upgrade Your Tool Inventory
Equip your customers with the precision they need for safe installations. Contact us for bulk pricing and OEM catalogs.
Request a Wholesale Quote